

Clerk JWT Auth Policy
Authenticate requests with JWT tokens issued by Clerk. This is a customized version of the OpenId JWT Policy specifically for Clerk.
Configuration
The configuration shows how to configure the policy in the 'policies.json' document.
config/policies.json
Policy Configuration
name<string>- The name of your policy instance. This is used as a reference in your routes.policyType<string>- The identifier of the policy. This is used by the Zuplo UI. Value should beclerk-jwt-auth-inbound.handler.export<string>- The name of the exported type. Value should beClerkJwtInboundPolicy.handler.module<string>- The module containing the policy. Value should be$import(@zuplo/runtime).handler.options<object>- The options for this policy. See Policy Options below.
Policy Options
The options for this policy are specified below. All properties are optional unless specifically marked as required.
allowUnauthenticatedRequests<boolean>- Allow unauthenticated requests to proceed. This is use useful if you want to use multiple authentication policies or if you want to allow both authenticated and non-authenticated traffic. Defaults tofalse.frontendApiUrl(required)<string>- Your Clerk frontend api url, i.e.https://sensible-skunk-49.clerk.accounts.dev. Can be found in the Clerk portal: https://dashboard.clerk.com/last-active?path=api-keys.oAuthResourceMetadataEnabled<boolean>- Flag that determines whether OAuth protected resource metadata is enabled. Defaults tofalse.
Using the Policy
Adding Clerk authentication to your route takes just a few steps. Follow the instructions below to setup Clerk and the Clerk policy.
Setup Clerk
If you haven't already done so, create a Clerk account and follow one of their Quickstarts to create a client app that can obtain an access token.
In order to setup your policy in the API, you'll need to navigate to the Clerk Dashboard and Navigate to the API Keys section. Click Advanced at the bottom of the page and copy the value of the Frontend API URL. You'll use this value later in your API policy configuration.
Set Environment Variables
Before adding the policy, you'll need to create an environment variable to store the Clerk Frontend API URL.
-
In the Zuplo Portal open the Environment Variables section in the Settings tab.
-
Click Add new Variable and enter the name
CLERK_FRONTEND_API_URLin the name field. Set the value to the value you copied previously from the Clerk dashboard.
Add the Clerk Policy
The next step is to add the Clerk JWT Auth policy to a route in your project.
-
In the Zuplo Portal open the Route Designer in the Files tab then click routes.oas.json.
-
Select or create a route that you want to authenticate with Clerk. Expand the Policies section and click Add Policy. Search for and select the Clerk JWT Auth policy.
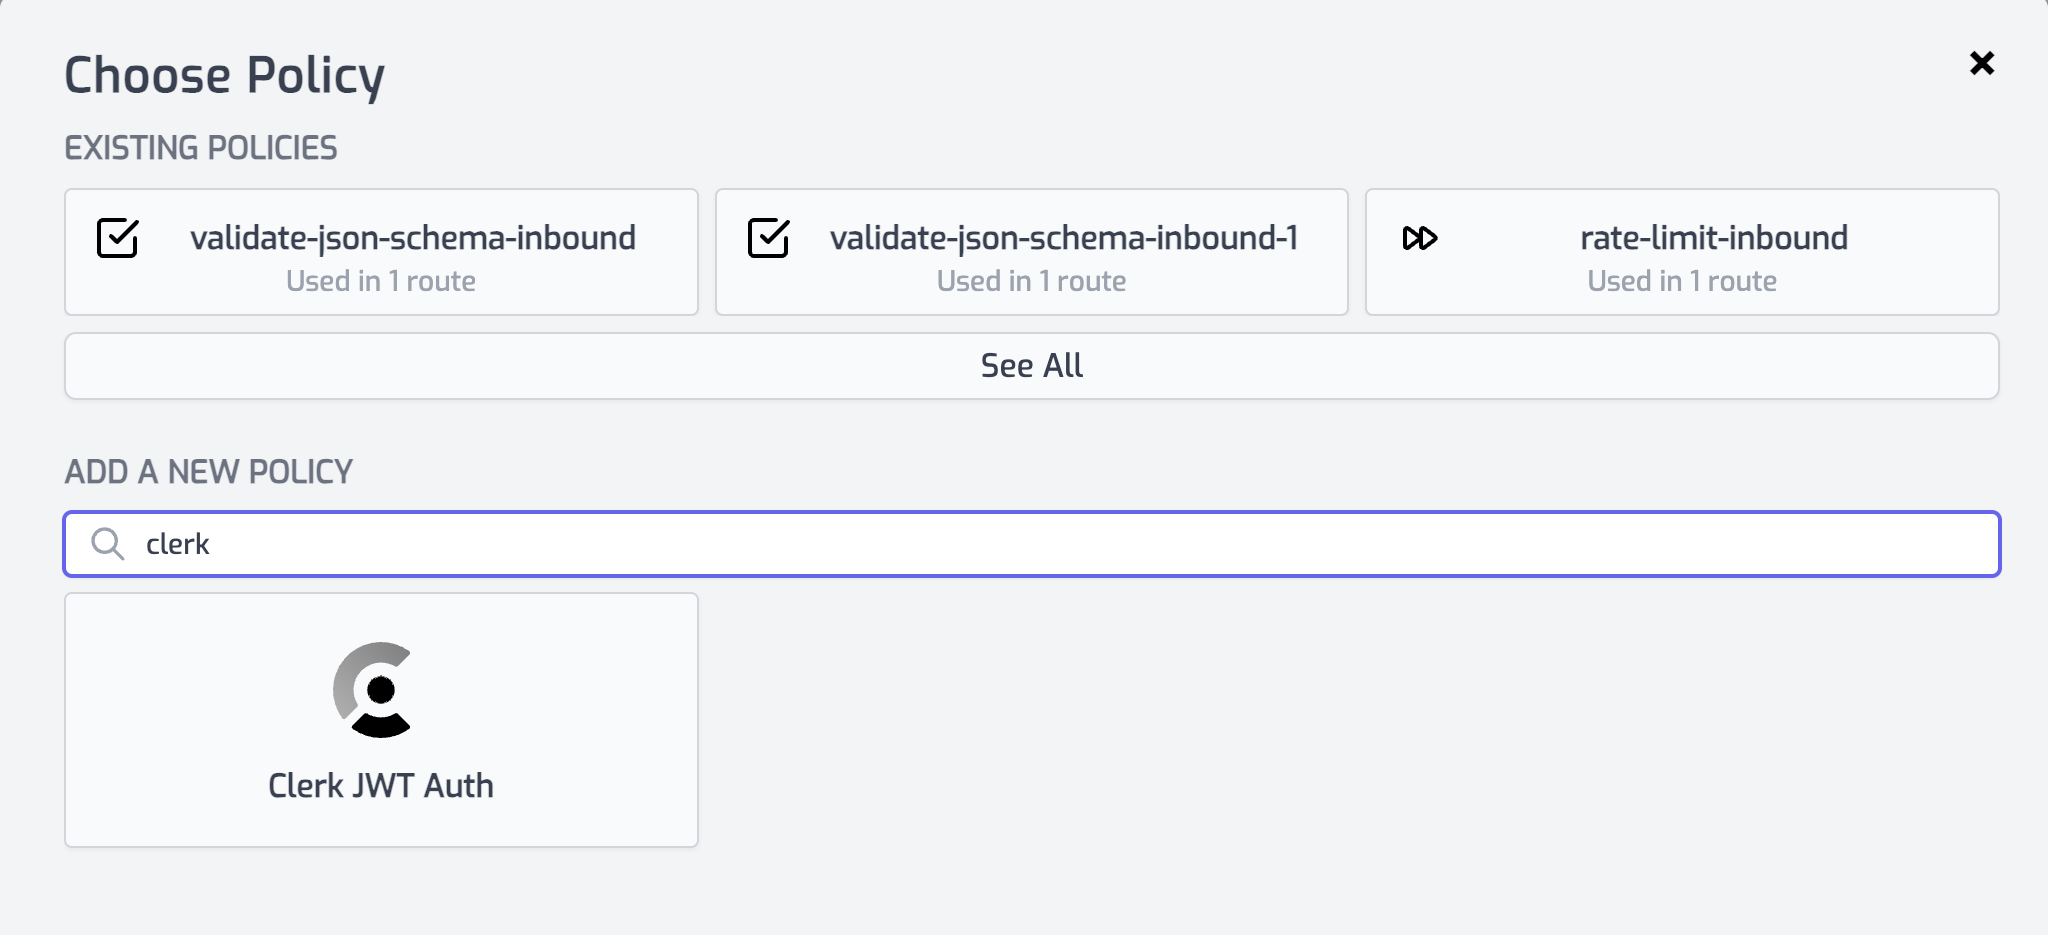
-
With the policy selected, notice that there is a property
frontendApiUrlthat are pre-populated with environment variable names that you set in the previous section.
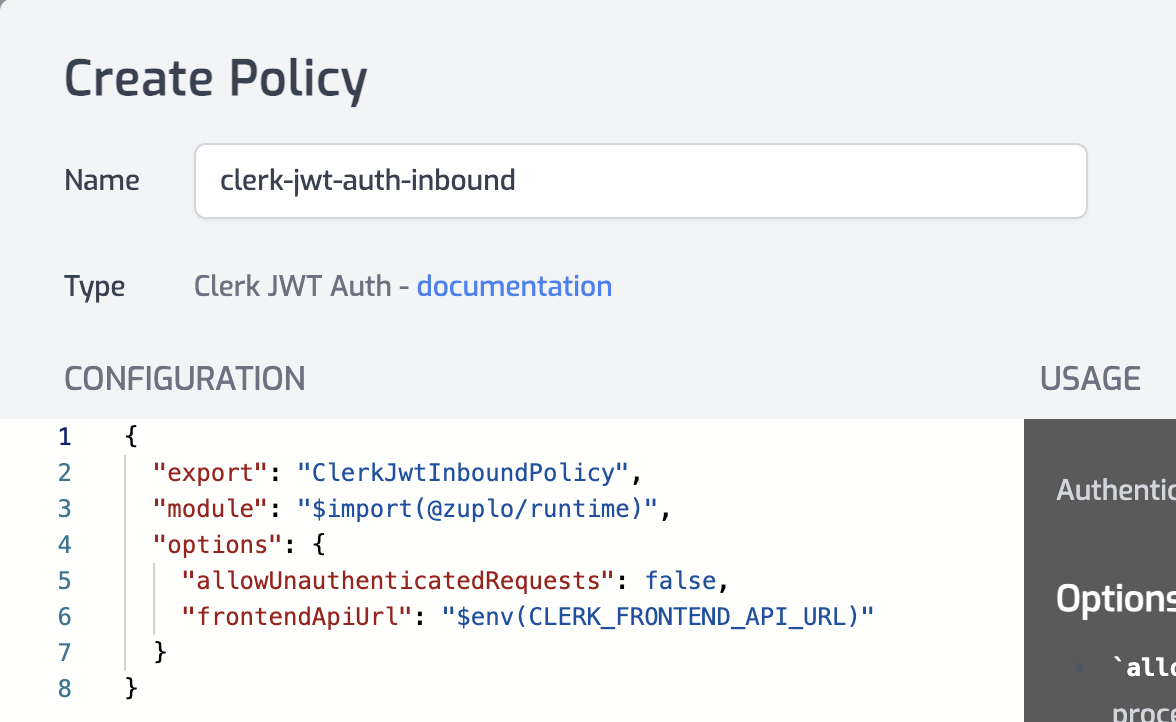
- Click OK to save the policy.
Test the Policy
Finally, you'll make two API requests to your route to test that authentication is working as expected.
-
In the route designer on the route you added the policy, click the Test button. In the dialog that opens, click Test to make a request.
-
The API Gateway should respond with a 401 Unauthorized response.
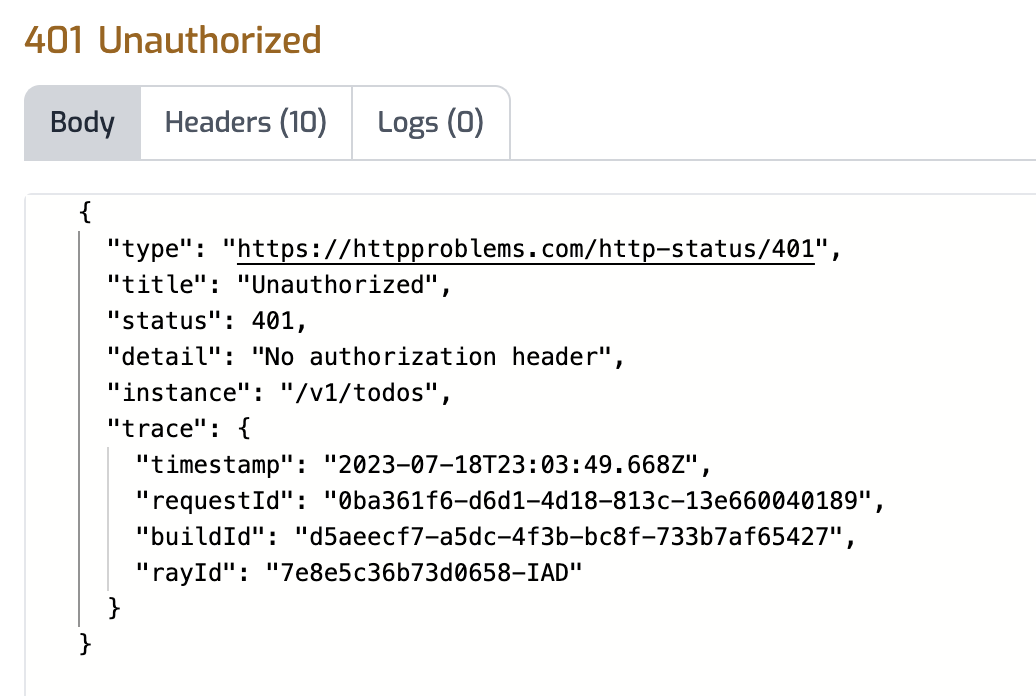
- Now to make an authenticated request, add a header to the request called
Authorization. Set the value of the header toBearer YOUR_ACCESS_TOKENreplacingYOUR_ACCESS_TOKENwith the value of the Clerk access token retrieved from your client app.
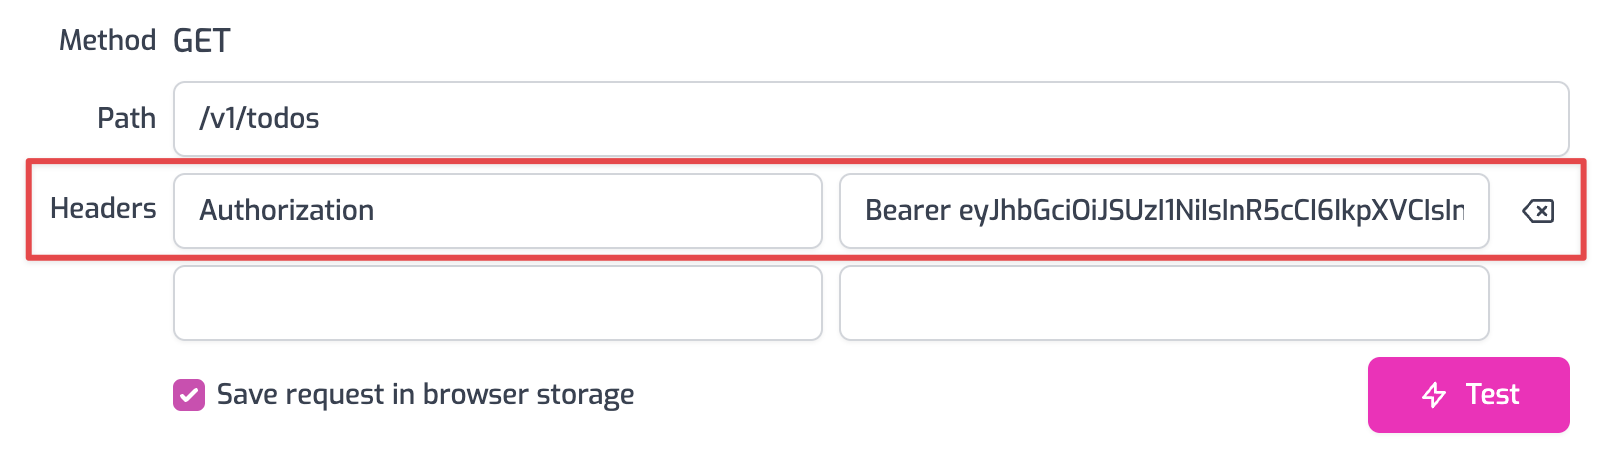
- Click the Test button and a 200 OK response should be returned.
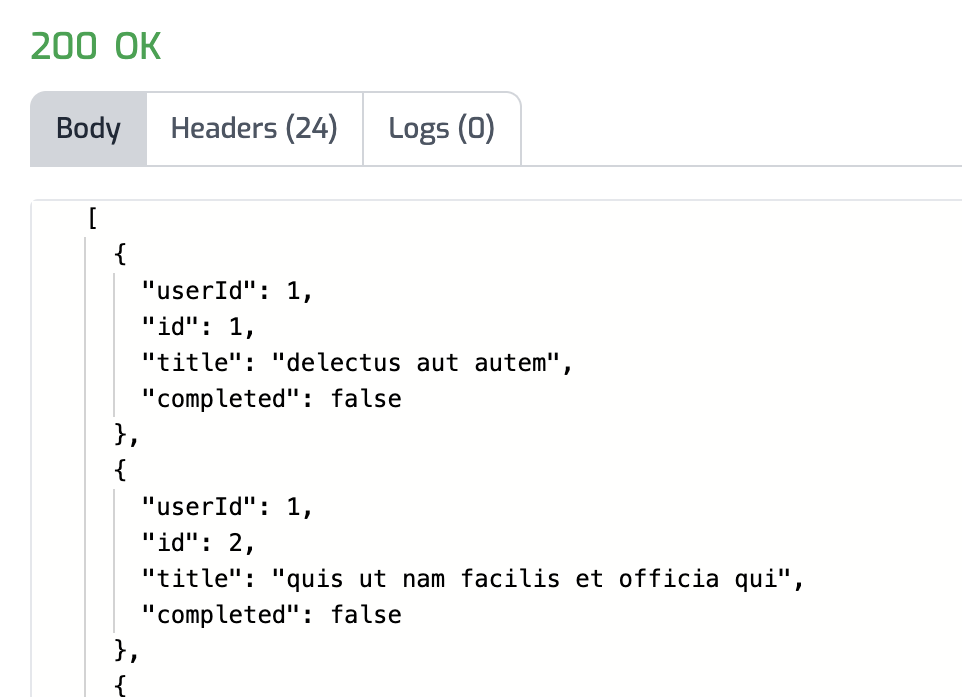
You have now setup Clerk JWT Authentication on your API Gateway.
OAuth 2.0 Protected Resource Metadata
The Clerk JWT Auth policy supports OAuth protected resource metadata discovery.
To enable this feature, set the oAuthResourceMetadataEnabled option to true
and add the
OAuthProtectedResourcePlugin to modules/zuplo.runtime.ts.
When configured, this enables OAuth clients to find metadata information about
how to interact with your OAuth 2.0 protected resources according to
RFC 9728.
See this document for more information about OAuth authorization in Zuplo.
Read more about how policies work